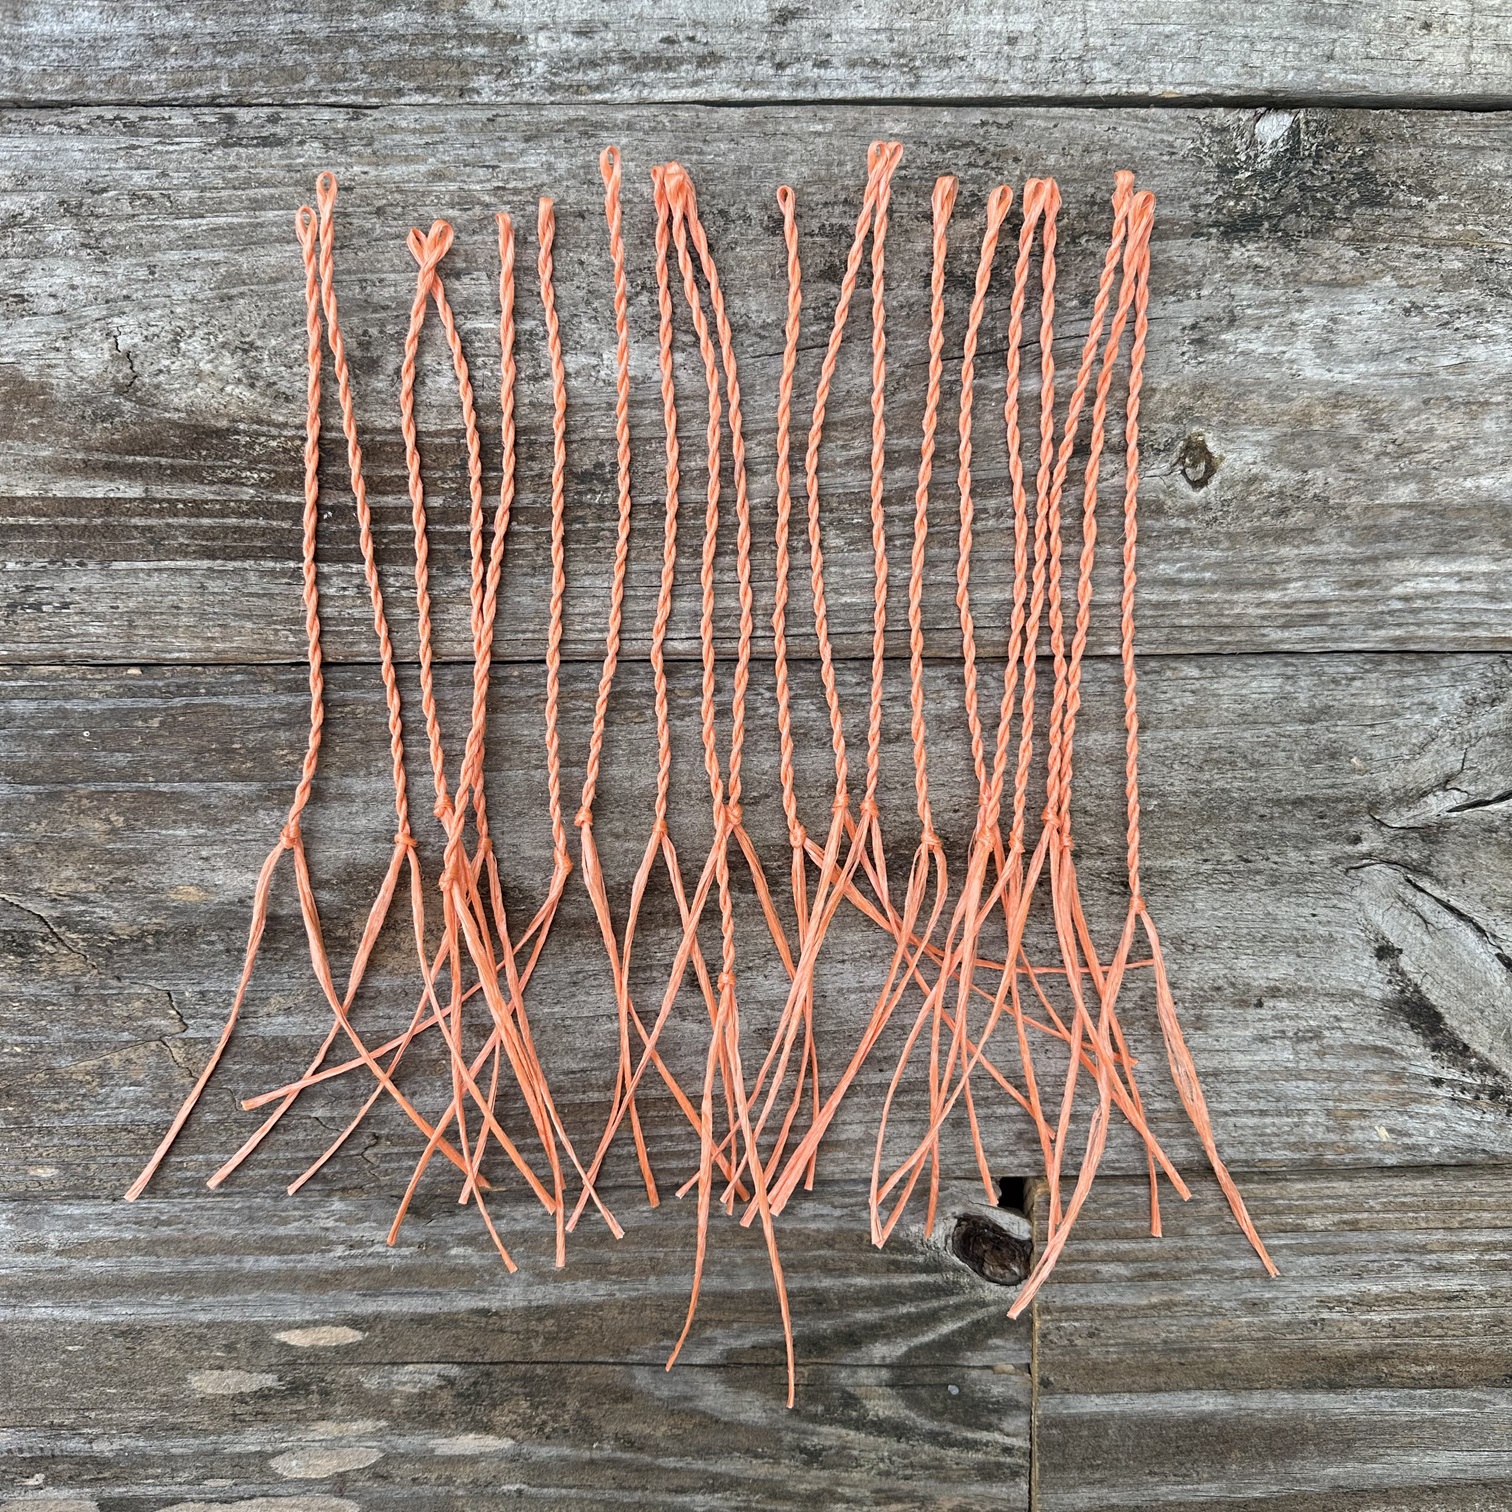
How to Make a Whip Cracker
What is a cracker?
The cracker (or popper) is a replaceable piece of the whip that attaches to the very end of the fall. This portion of the whip is generally made from readily available material such as thread, fishing line, or twine.
The purpose of the cracker is to help disperse sound while also protecting the rest of the whip from damage. You can simply change it out as needed without damaging or modifying the rest of the whip.
Below I will try to outline the steps I use to make crackers, but I recommend watching the video here on this page where I walk you through it.
Tools and Materials Needed
There are countless methods and techniques to creating and replacing the cracker, but the method I’m going to show is how I generally do it. It isn’t the fastest, but it’s simple and effective.
Material varies widely but we will be using baling twine, also known as polypropylene, which you can get on amazon. The thickness of the twine I use is perfect for making crackers so we just need a single strand. If your material is thin (such as thread), you need to double it over until you have your desired thickness. Remember, though, we will be twisting and doubling over the cracker material so when it is finished it will be twice the thickness from when you start. This will make sense in a minute.
A note on materials: you can use nearly anything. The best materials are ones that will hold up to wear but will also fray at the very end. Once we tie off the cracker, we will let the last few inches of material hang free and fray, creating the “tassels”. These tassels help create more surface area and distribute the sound.
How to Make it
Step 1:
Cut a 30″ length of your baling twine or material.
Step 2:
Okay, so the next thing we need to do is fold the strand in half and twist both sides. The best way to do this is to use a hook or a nail and loop the middle over it.
Step 3:
Now that your strand is held in the middle, take one side in each hand and twist both strands clockwise. Twist each side as far as you can with one rotation of your fingers, without letting it go. Then, cross the strands over one another and repeat.
Do this until you reach 6 inches.
Step 4:
Take one of your strands and tie an overhand knot to finish the cracker. This is simply a stopper knot. Just take one strand, go around the back and through the loop you just created. You only need to tie off one side.
Trim the excess to 4 inches after the knot. These are the tassels.
Step 5:
Attaching the cracker is simple. Just open top of the cracker (opposite end of the tassels) and slide the fall through. Create a half hitch with the fall, going around the cracker. Be sure to only leave a small amount of fall protruding from the knot, as to not waste fall length, or create too much drag.
Video
Here is a video I posted to my IG explaining the process.

